Before Vivado is finished, Zynq's software compilation environment is installed. It can be used to recompile Zynq-based Linux systems, and can also write Zynq-based C programs (in fact, the SDK in Vivado can also be implemented). Here are the specific steps:
1. The original XP of the computer, in order to install the cross-compilation chain of Zynq, installed Ubuntu 12.04.
2. Find the ARM GNU Tool on this page, you can download it after registering the Xilinx official website.
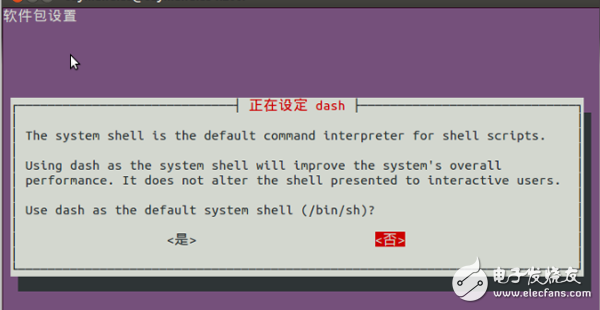
3. The downloaded file is xilinx-2011.09-50-arm-xilinx-linux-gnueabi.bin and then installed. Before installing, you need to open a terminal under Ubuntu, enter the command "sudo dpkg-reconfigure dash", then the following figure appears, select "No" to exit. This step is to change the dash to bash, I don't understand the principle, just install the file, you need to change to bash.
4. Copy the file "xilinx-2011.09-50-arm-xilinx-linux-gnueabi.bin" to the "home folder", open a terminal and run "sudo ./xilinx-2011.09-50-arm-xilinx- Linux-gnueabi.bin". Then the installation interface appears, you can install it step by step. Some screenshots are as follows
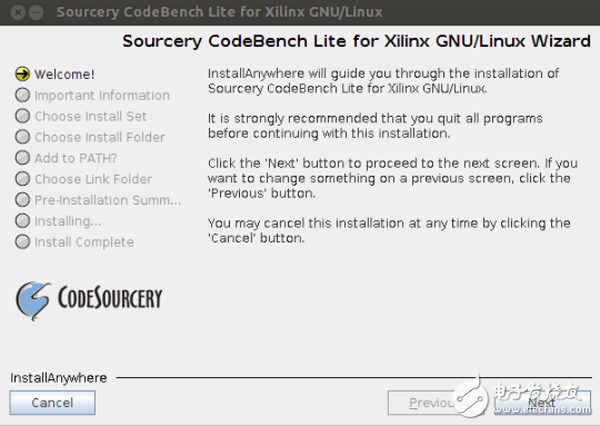
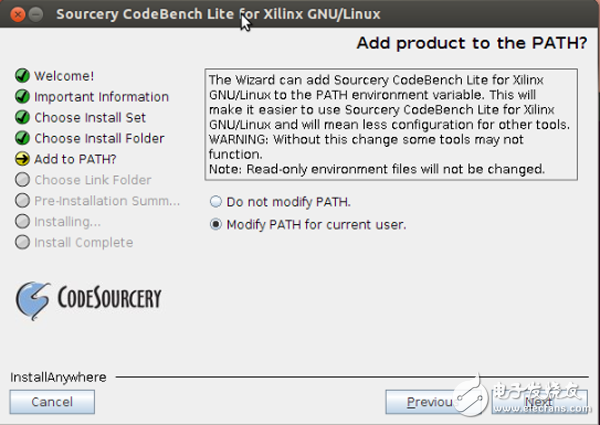
During this time you will be asked if you are installing to a path. I will install it to the specified path by default (I am /root/CodeSourcery /Sourcery_CodeBench_Lite_for_Xilinx_GNU_Linux/). At the same time, I also ask if I need "Modify PATH", I default "Modify".
5. After installation, according to the last paragraph of this page, you need to modify the environment variables, the command is as follows Open a terminal, enter su, then enter the password, enter the root
Then enter export CROSS_COMPILE=arm-xilinx-linux-gnueabi-
Then enter export PATH=/root/CodeSourcery/Sourcery_CodeBench_Lite_for_Xilinx_GNU_Linux/bin/PATH
6. Then compile a simple C program, I wrote the following
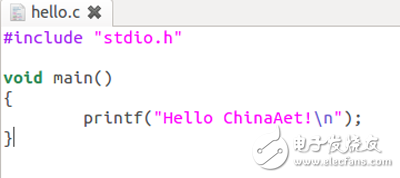
Then, enter the first input su into the root, and then type "arm-xilinx-linux-gnueabi-gcc ./hello.c -g -o hello" to compile the C file into the executable file hello. The hello at this time is the program that Zynq can execute.
7. Connect the USB to UART to the Zedboard and connect your computer to the Zedboard with a network cable. Power up the Zedboard. Ubuntu uses minicom as a serial debugging assistant, which is very easy to use. At the same time, Ubuntu can directly recognize this USB2UART chip of Cypress. The default port corresponds to /dev/ttyACM0. Once you set the bitrate, you can interact with Zedboard.
At the same time, enter the "ifconfig" command as shown below
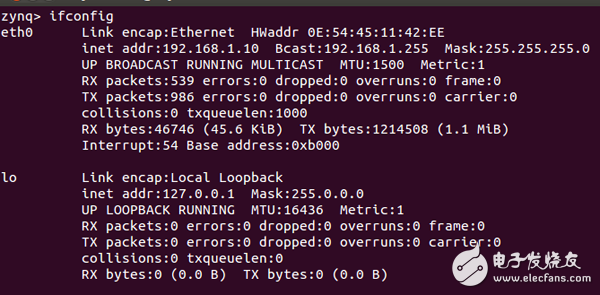
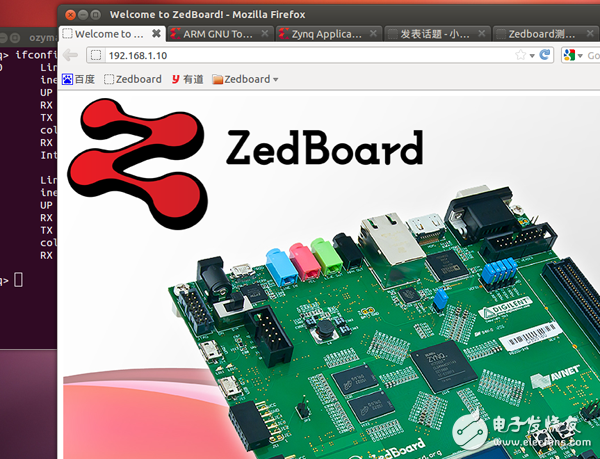
You can see that Zynq is not DHCP. The default IP is "192.168.1.10" and the subnet mask is "255.255.255.0". Then you need to set the network card to fixed IP under Ubuntu. For example, "192.168.1.1" and the corresponding subnet mask. After setting up, you may need to restart Zedboard, your computer and Zedboard can be connected through the network cable. Enter "ping 192.168.1.1" in Zynq and you can see that it is pinged. At the same time, open the browser under Ubuntu, enter "192.168.1.10", you can see the following figure
8. Open another terminal on the computer and type "ftp 192.168.1.10", so you can connect to Zedboard via ftp, so that you can send files to each other before the computer and Zedboard.
Use the put command to transfer the just generated hello file to the Zrbord usr folder via ftp.

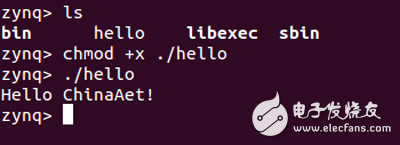
Then enter on the Zynq side, "chmod +x ./hello" add this hello file to the executable, and then enter "./hello", you can see the program output, as shown below
Electrode sheets can be divided into different electrode sheets according to different standards, for example: self-adhesive electrode sheets, if according to the material can be divided into 1. PET self-adhesive electrode sheet 2 silicone self-adhesive electrode sheet, 3 silicone self-adhesive electrode sheet 4, others Button self-adhesive electrode sheet; silica gel electrode sheet can be divided into water-absorbing electrode sheet, heating electrode sheet, conductive electrode sheet and so on according to the purpose. In addition to the electrode pads, there are electrode wires and related physiotherapy products related to them.
Conductive Sheet,Conductive Plastic Sheet,Thermal Conductive Sheet,Conductive Rubber Sheet
Original Electronics Technology (Suzhou) Co., Ltd. , https://www.original-te.com